

RV AC Shroud Replacement: How to Find the Right Cover for Your Model
Posted by RV AC Guys on 27th Oct 2026
When to replace your RV AC shroud
The shroud is the plastic cover on top of your rooftop air conditioner. It takes years of sun, hail and low branches, and eventually it shows. Replace it when you see:
- Cracks, especially around the mounting screw holes or corners.
- Chalky, yellowed or brittle plastic that flexes or flakes when you press on it.
- Missing pieces or holes that let rain, leaves or nesting critters reach the fan and coils.
- Rattling at highway speed, often from cracked mounting points.
A damaged shroud isn't just cosmetic. It's what keeps water and debris off the fan motor, coils and wiring, and a shroud that breaks loose on the highway is a hazard to the cars behind you.
Step 1: Identify the unit under the shroud
Shrouds fit by the rooftop unit's model or series, not by the RV. Don't go by the shroud you have now; it may already be an aftermarket replacement. Take the shroud off and read the rating plate on the rooftop unit. Our guide on how to find your RV AC model number shows where to look for each brand.
Step 2: Choose OEM or aftermarket
OEM shrouds come from the AC manufacturer and match the original fit and vent layout. Aftermarket shrouds, such as Icon replacement shrouds, are made to fit specific models, often in polar white or black, and are a common choice for units whose OEM shroud is hard to find.
Either way, match the shroud to your unit's model or series. Vent placement matters: the openings line up with the condenser fan and coil, and a shroud designed for a different unit can restrict airflow.
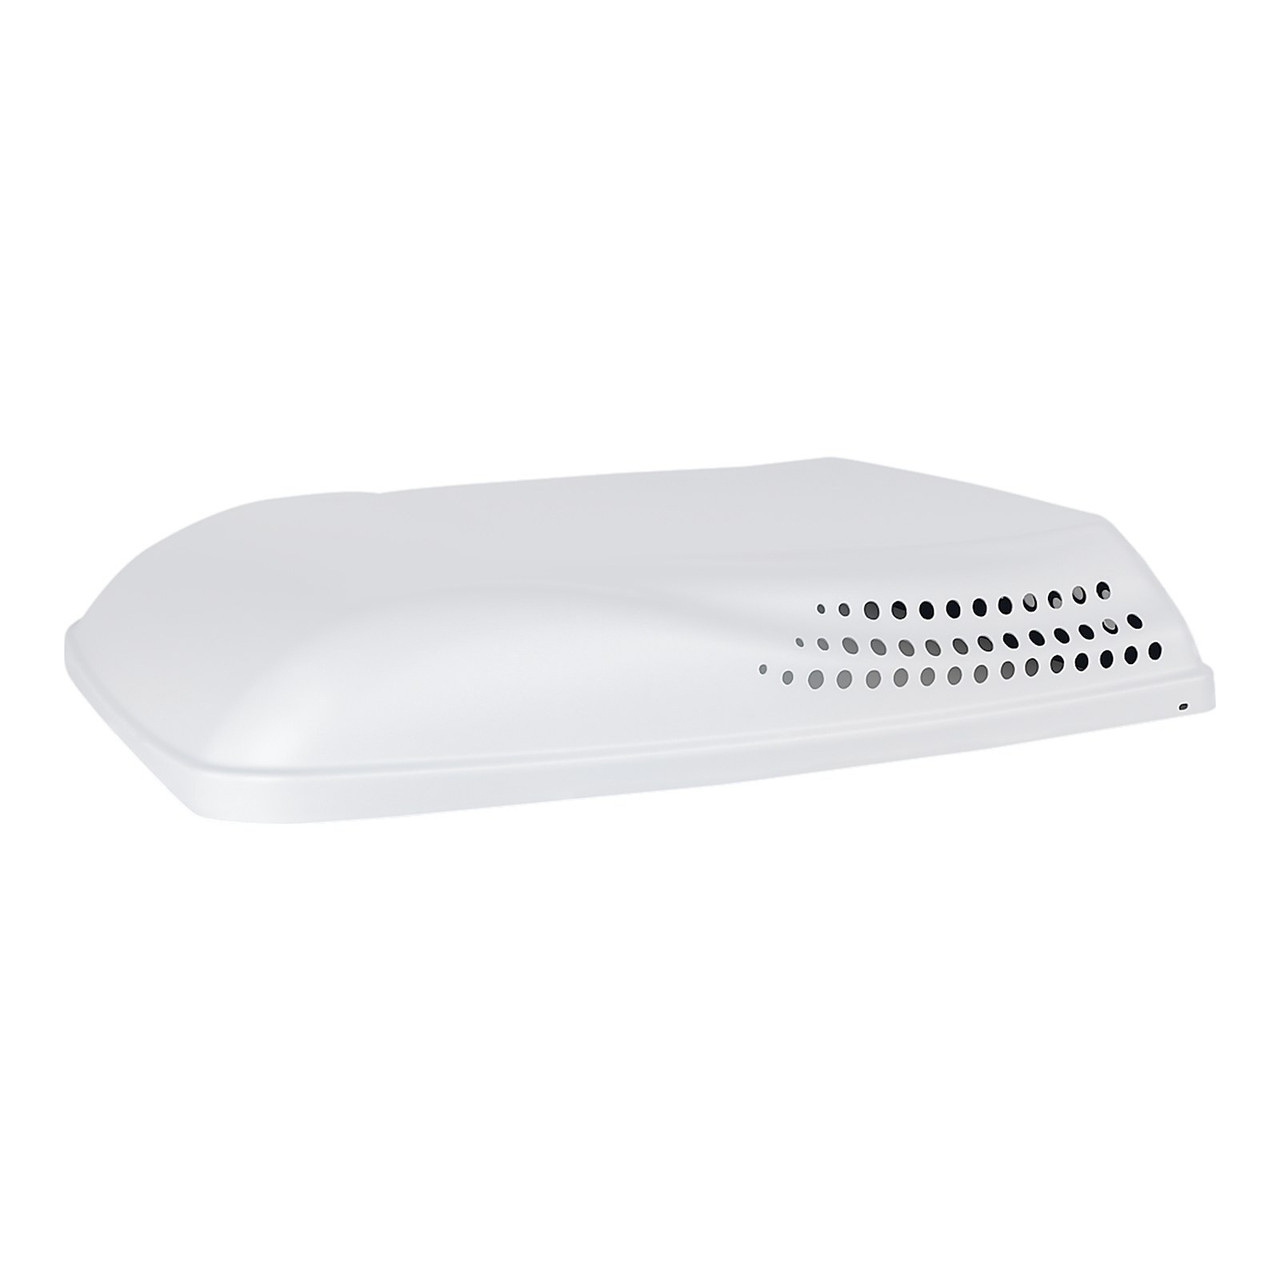
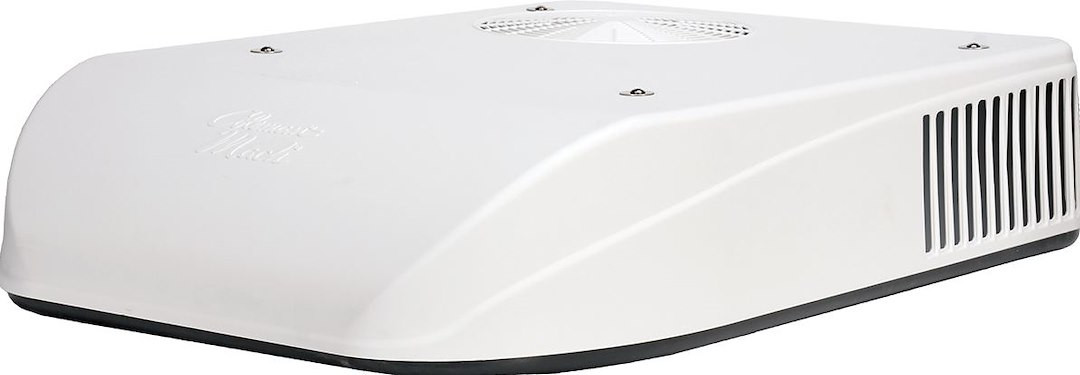
Aftermarket Icon 12274 shroud for the Dometic Penguin II (left) and OEM Coleman-Mach 47103-2261 shroud for the Mach 8 (right).
Shrouds by brand and model
This table is a starting point. Always confirm the fit against your unit's model number on the product page, and browse the full selection: Coleman-Mach shrouds, Dometic shrouds, Furrion shrouds and aftermarket shrouds.
How to replace the shroud
- Turn off power to the AC at the breaker and disconnect shore power and the generator.
- Remove the shroud mounting screws and lift the old shroud straight up.
- While it's off, look over the unit: clear leaves and nests, check the fan blade for cracks, and check that the roof gasket isn't leaking (see our roof gasket guide).
- Set the new shroud in place, lining up the vents and screw holes.
- Install the screws snug but not tight. Over-tightening cracks the plastic at the screw holes, which is how many shrouds fail in the first place. Replace stripped or rusted screws, such as the Coleman-Mach shroud screw 47103-5011 or the Dometic Blizzard NXT shroud screw 3316312.000.
Black or white?
Many shrouds come in both polar white and black. White is the traditional look; black matches many newer RV styles. As long as the shroud is made for your unit, pick the color that suits your RV.
Not sure which shroud fits? Contact us with your rooftop unit's model number and we'll point you to the right one.